
Don’t skip the cement board
when you’re tiling job, I have the step by step to get the project moving.
The first
step is to snap chalk lines onto the floor to mark the dimensions of the
sheets. You want to be sure that your
joints don’t line up with the joints on your sub-floor and so that there is
nowhere four corners of backer come together.
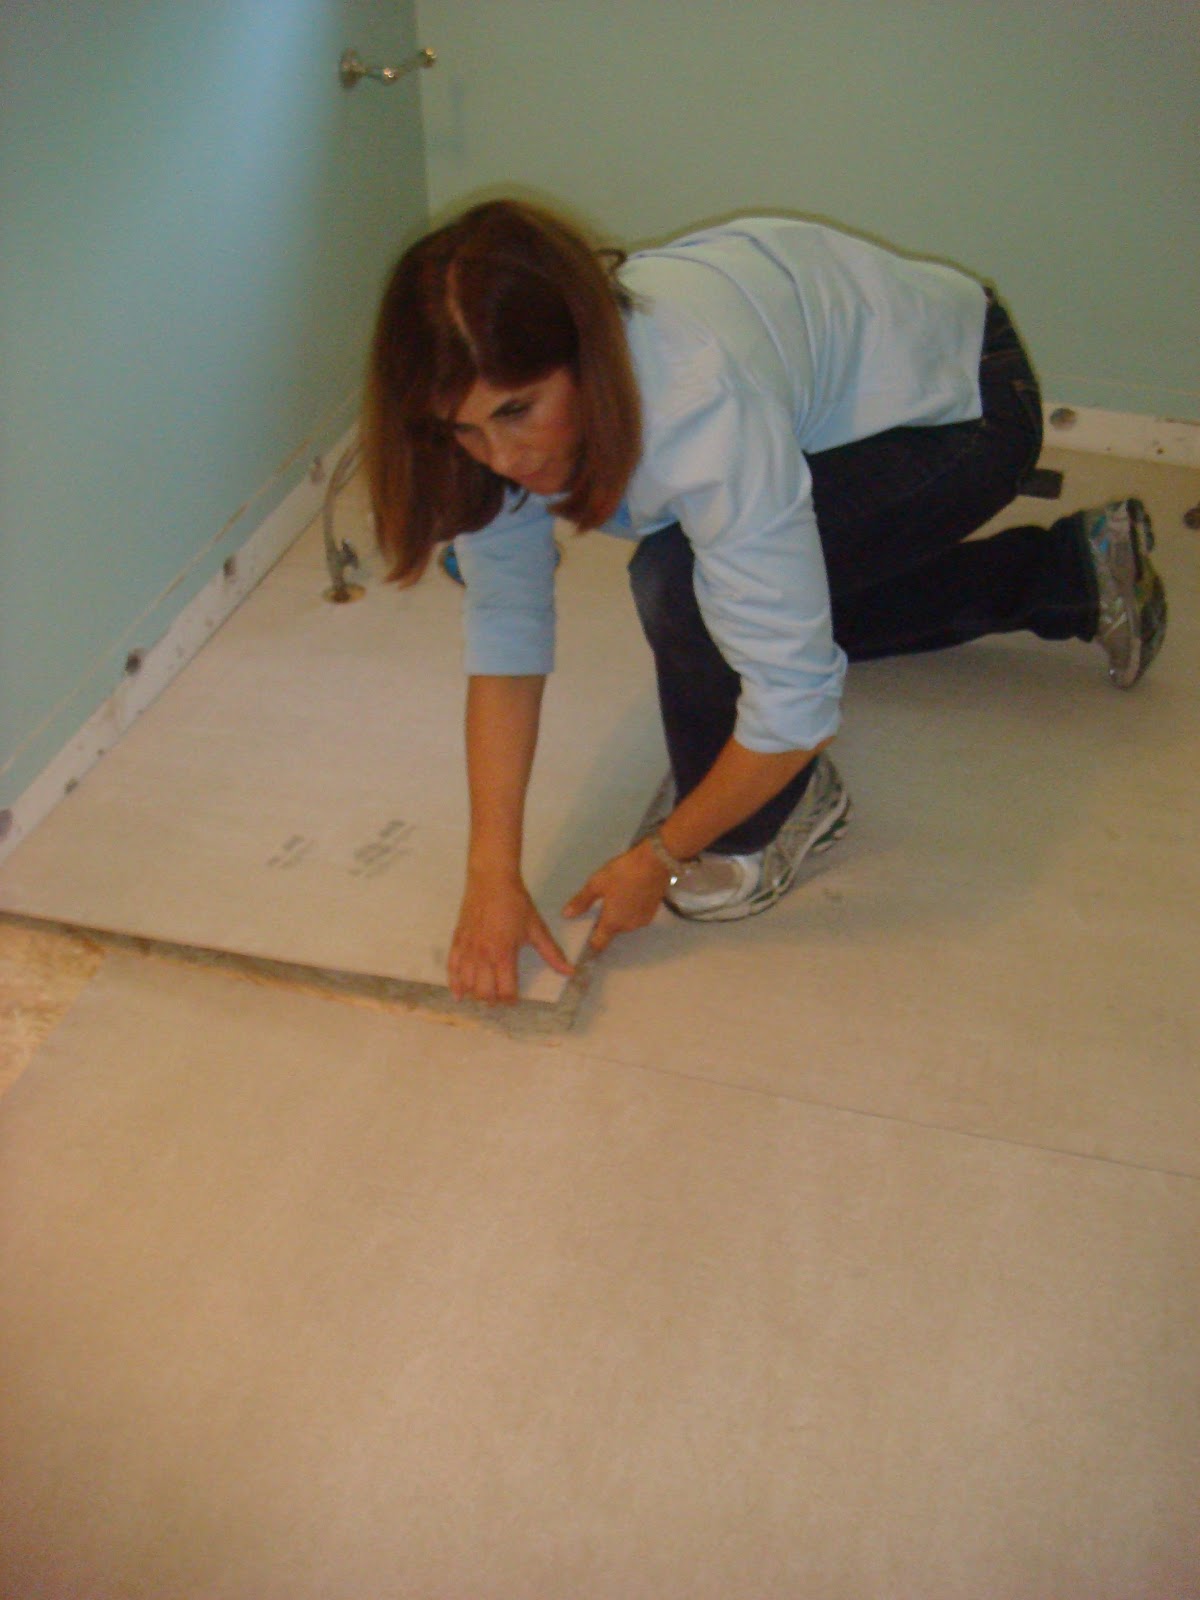
Starting in
the furthest corner from the door, spread enough thinset onto the floor for one
sheet of cement board.
Once you’ve
filled the space, make ridges in the thinset with the a notched trowel. Lay your first piece of backerboard in place
leave a quarter inch gap between the board and the wall. To cut cement board, score the board with a
utilty knife or carbide tipped cutter, and snap on the score line. for outlets or toilet flanges, trace and then
drill holes in the perimeter, score lines and snap out small pieces.
Repeat the
process until the floor is covered; leave an eighth of a inch seam between
boards.

Once all of
the boards are in place, secure them to the floor with backerboard screws every
eight inches, along the outside keep screws between a half an inch and two
inches from the edge.

Once
everything is secure, fill the joints with adhesive, extending it out from the
joints about an inch and a half on either side.
Lay two inch fiberglass tape over the joint pushing it into the
adhesive. When it’s in place cover the tape with a thin layer of adhesive
feathering it out at the edges.
that’s it,
ready for tile! I’m Mrs. FIXIT and it’s
just that simple!
No comments:
Post a Comment